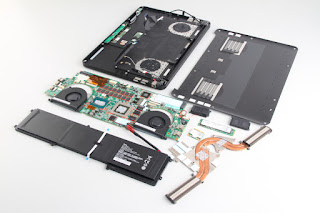
In this guide, I’ll explain how to disassemble Razer Blade 2014 to remove and replace the battery, SSD, wireless card, heat sink, cooling fan, speaker and motherboard.
Step 1: Remove the bottom case.
Remove ten screws from the bottom case.
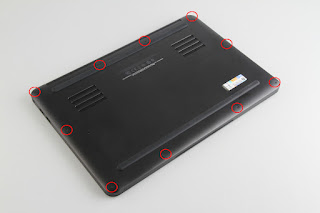
Pry up the bottom case.

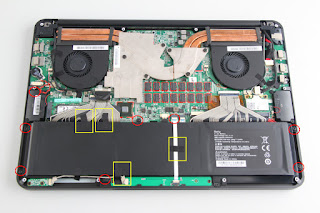
Step 2: Remove the battery.
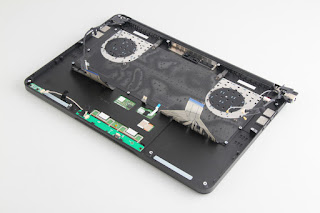
Under the bottom case, you can get access to the battery, wireless card, SSD, speakers, heat sink and cooling fan.
Remove seven screws securing the battery. Remove five black tape
 < /div>
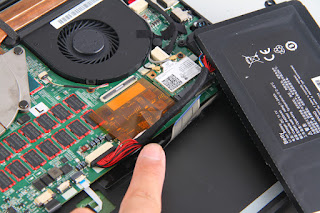
Disconnect this cable from the motherboard.

Disconnect battery power cable.
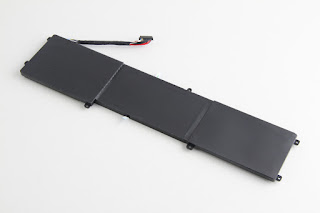
The battery has re moved, it’s a 11.1v, 6400mah big capacity Li-ion battery.
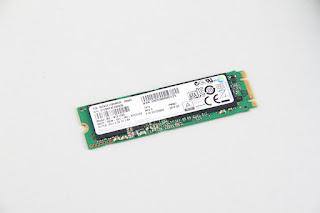
Step 3: Remove the SSD.
Remove one screw securing the SSD and takes it out.
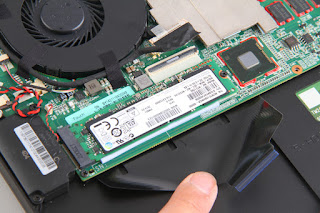
Razer Blade 2014 comes with a Samsung 128GB SSD.
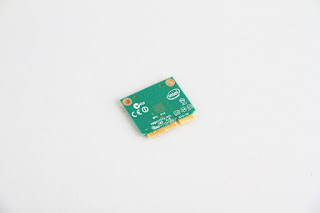
Step 4: Remove the wireless card.
Disconnect two antenna cables and remove one screw. The wireless card can be removed.

Wireless card
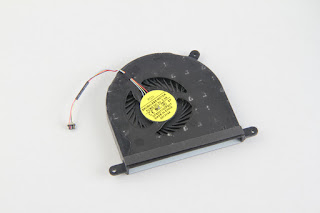
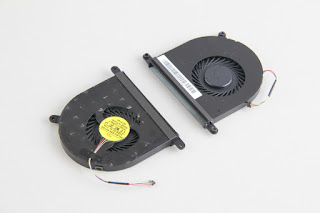
Step 5: Remove the cooling fan.
Remove three screws securing the left cooling fan. Unplug the cooling fan cable from the motherboard.

The cooling fan has removed, it’s coming from Foxconn.
Remove three screws securing the right cooling fan. Unplug the cooling fan cable from the motherboard.

Two cooling fans.
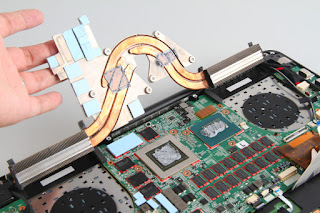
Step 6: Remove the heat sink.
Remove six screws securing the heat sink. You can remove it.

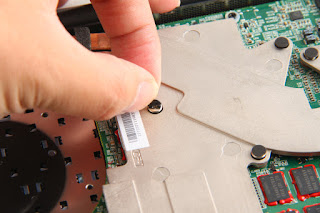
Black mat covering the screw.
The heat sink has been removed.
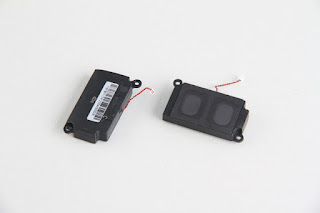
Step 7: Remove the speakers.
Remove two screws securing the left speaker. Disconnect the speaker cable from the motherboard.
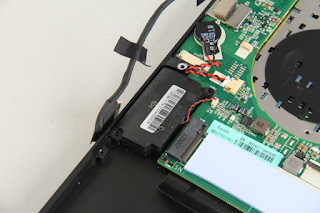
Remove two screws securing the right speaker. Disconnect the speaker cable from the motherboard.
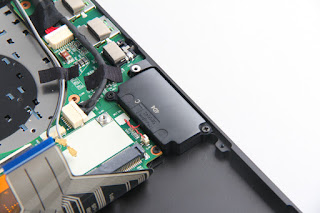
Two speakers
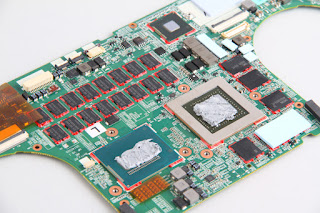
Step 8: Remove the motherboard.
Remove all screws securing the motherboard. Disconnect LCD cable, keyboard cable, touchpad cable and dc power jack cable. You can remove the motherboard.
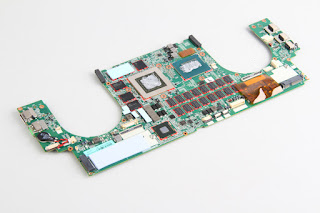
Toupad and keyboard
Built-in memory chips

Intel processor
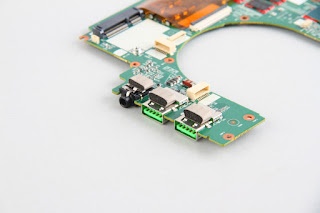
USB port
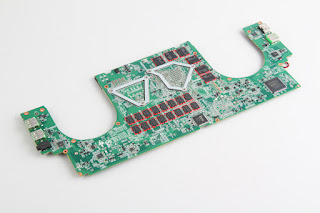
The back of the motherboard
No comments:
Post a Comment